.00_00_09_12.Still001")
Hello and welcome! I’m Alison Patt, President and CEO of Thomas Cuisine. A few years ago, my family decided to leave processed, store-bought bread behind and embrace the art of baking our own bread at home. Before long, that simple experiment turned into a true passion—one I’ve been overjoyed to share with friends, colleagues, and clients ever since. Many of them have asked for my sourdough recipe, so I created this detailed, step-by-step guide to help you bake your own nourishing, delicious bread. Bread-making is as much about the tactile experience as it is about the ingredients. Let me walk you through the entire process, from preparing your starter to shaping and baking your loaf.
Printable Recipe
How to Feed a Sourdough Starter (Biga)
A “biga” is a stiff sourdough starter, offering a convenient, low-maintenance way to bake consistently.
Ingredients
- 5g old biga (starter)
- 35g water
- 50g flour
Directions
- Mix: Combine the old biga, water, and flour in a bowl or jar. Ensure your container is large enough to allow for expansion.
- Ripen: Let the mixture sit at room temperature for 7–24 hours to ripen. If you don’t plan to use it soon, refrigerate it after ripening.
- Feed Weekly: Feed your starter weekly, even if you’re not baking.
- Night Before Baking: Set the starter on the counter the night before you bake so it can come to room temperature.
Sourdough Bread Recipe:
Ingredients for 900g Loaf (70% Hydration)
- 50g biga starter
- 350g water
- 12g salt
- 3.5g diastatic malt flour (optional)
- 500g flour
Ingredients for 600g Loaf (70% Hydration)
- 35g biga starter
- 270g water
- 8g salt
- 2g diastatic malt flour (optional)
- 330g flour
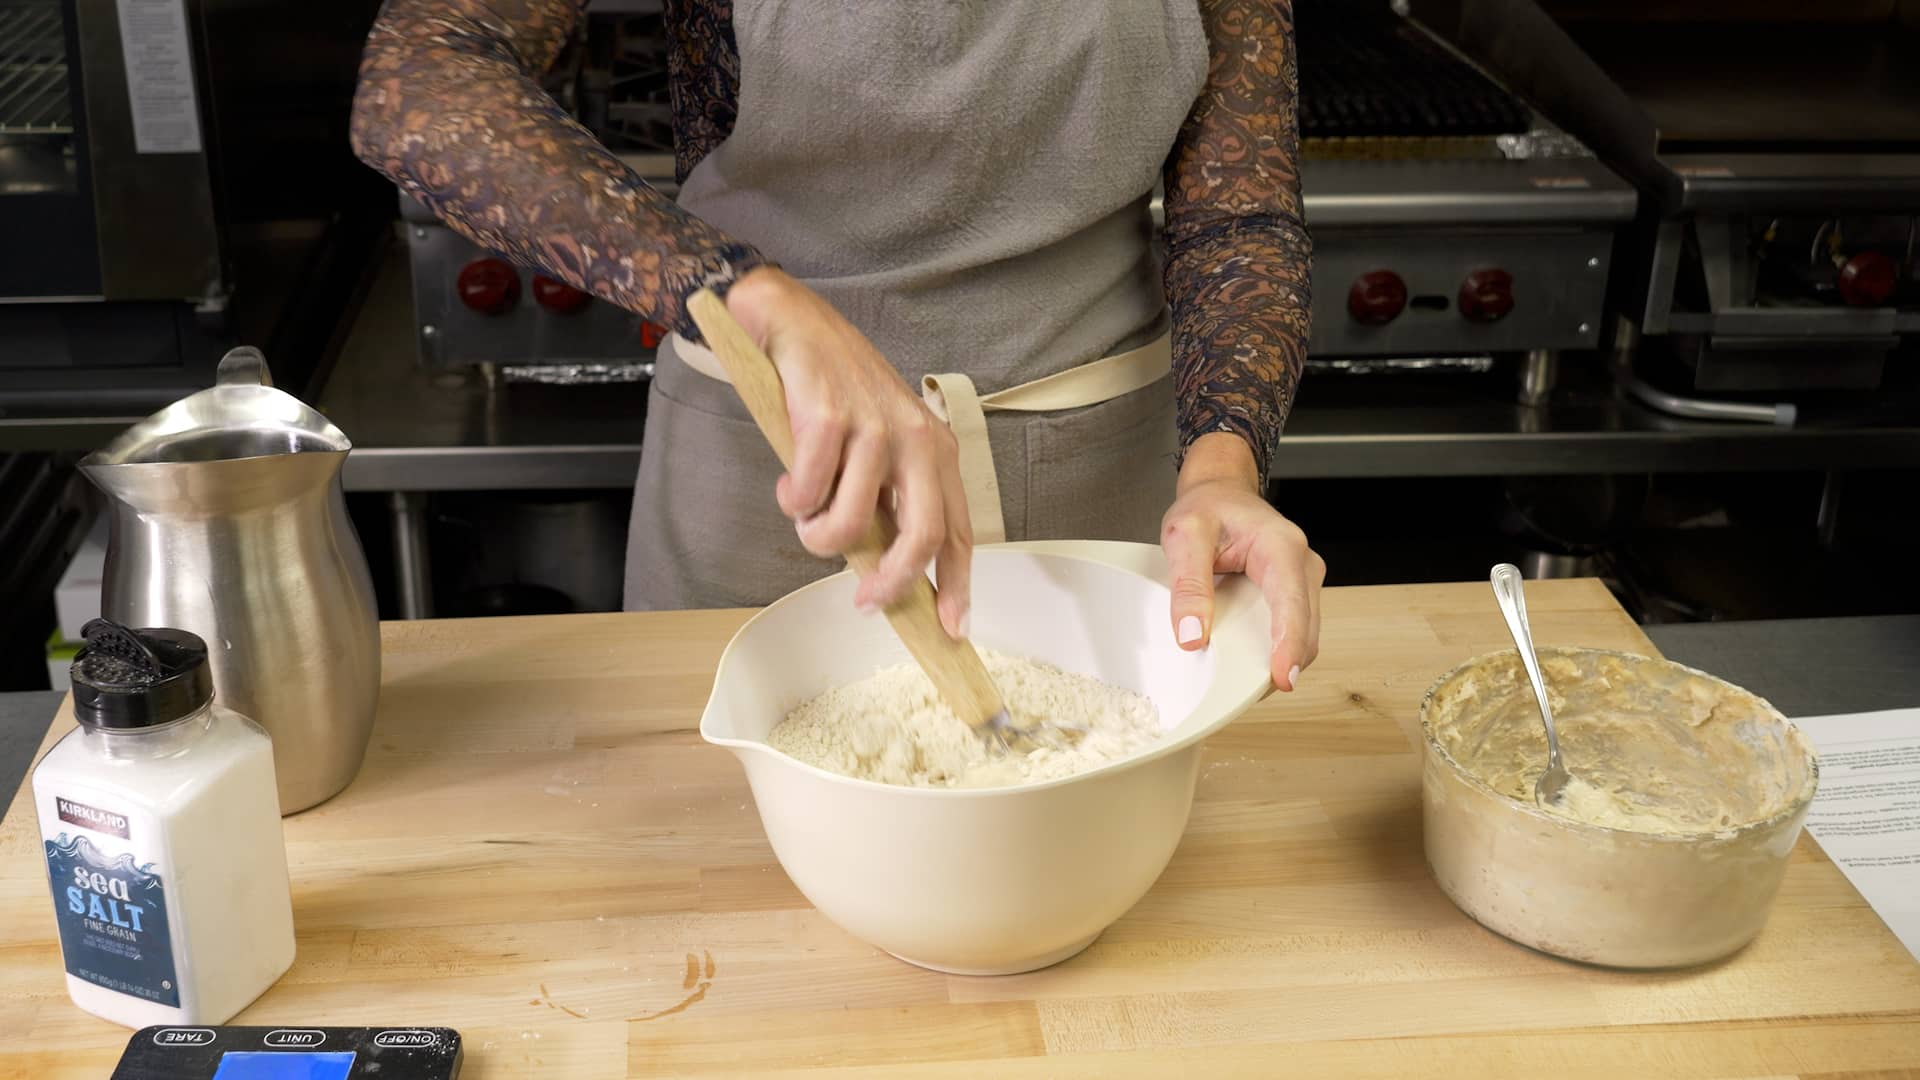
Mixing the Dough (10–15 Minutes)
- Combine Liquids and Starter: In a large mixing bowl set on a zeroed-out scale, weigh the biga, water, salt, and malt flour (if using). Whisk together until the biga breaks into lumps.
- Add Flour: Add the flour and mix until you achieve a shaggy dough (no kneading required).
- Rest: Cover the bowl with plastic wrap or a shower cap and let the dough rest for 15 minutes.
Bulk Fermentation (5–10 Hours)
- Turn the Dough: After resting, pull one side of the dough and fold it over the center, rotating the bowl as you go. Go around the dough twice.
- Repeat Folds: Turn the dough a total of three times, 10–20 minutes apart.
- Add Mix-ins (Optional): If adding nuts, dried fruit, cheese, or other ingredients, incorporate them during the second fold.
- Ferment: Cover the dough and let it ferment at room temperature (68–74°F) for 5–10 hours.
Signs It’s Ready:
- The dough increases in size by about 50%.
- Gas bubbles form beneath the surface.
- The dough jiggles slightly when shaken.
Pre-Shaping and Shaping Your Dough: Crafting the Perfect Loaf (10–20 minutes)
Pre-Shaping
- Turn Out the Dough: When your dough is proofed, turn it out onto a damp board or counter. (If you mixed your dough in the morning, this will be in the evening; if you prepared it late in the evening, this will be in the morning.)
- Divide and Weigh (If Necessary): If making multiple loaves, divide the dough into equal portions and weigh each for consistency.
- Bench Rest (Optional): Stretch and turn each portion (similar to the bulk ferment technique) to form a smooth ball. Allow the dough to rest for 5–20 minutes. This helps create structure but can be skipped if your dough has already proofed longer than desired.
Final Shaping
- Prepare Proofing Containers: While the dough rests, prepare your bannetons or cloth-lined bowls by dusting them with flour.
- Choose Your Shaping Technique:
- Oval Loaf (“Batard”):
- Lightly flour the counter and the top of the dough.
- Flip the dough over, stretching both the right and left sides to elongate it.
- Perform a trifold by folding each side toward the center, overlapping them.
- Roll the dough away from you, creating a smooth, oblong shape.
- Round Loaf (“Boule”):
- After the bench rest, flour your hands and gently cup them around the dough.
- Twist the dough into a tight ball, creating surface tension.
- (Optional) Roll the dough in seeds or toppings at this stage.
- Oval Loaf (“Batard”):
- Final Proofing:
- Place your shaped dough into the prepared banneton or bowl.
- Cover and refrigerate overnight (12–24 hours) or allow to rest on the counter for 2 hours.
- Note: The dough won’t double in size during this period. At room temperature, it will become softer.

Scoring and Baking Your Loaf (35–50 minutes)
Preparing to Bake
- Preheat Your Oven: Heat your baking vessel in the oven at 475°F for 30 minutes.
- Score Your Dough:
- Turn the dough out of the proofing vessel onto parchment paper.
- Dust the top of the dough with flour and use a bread lame to score a long slash along the length.
- (Optional) Experiment with decorative scoring designs.
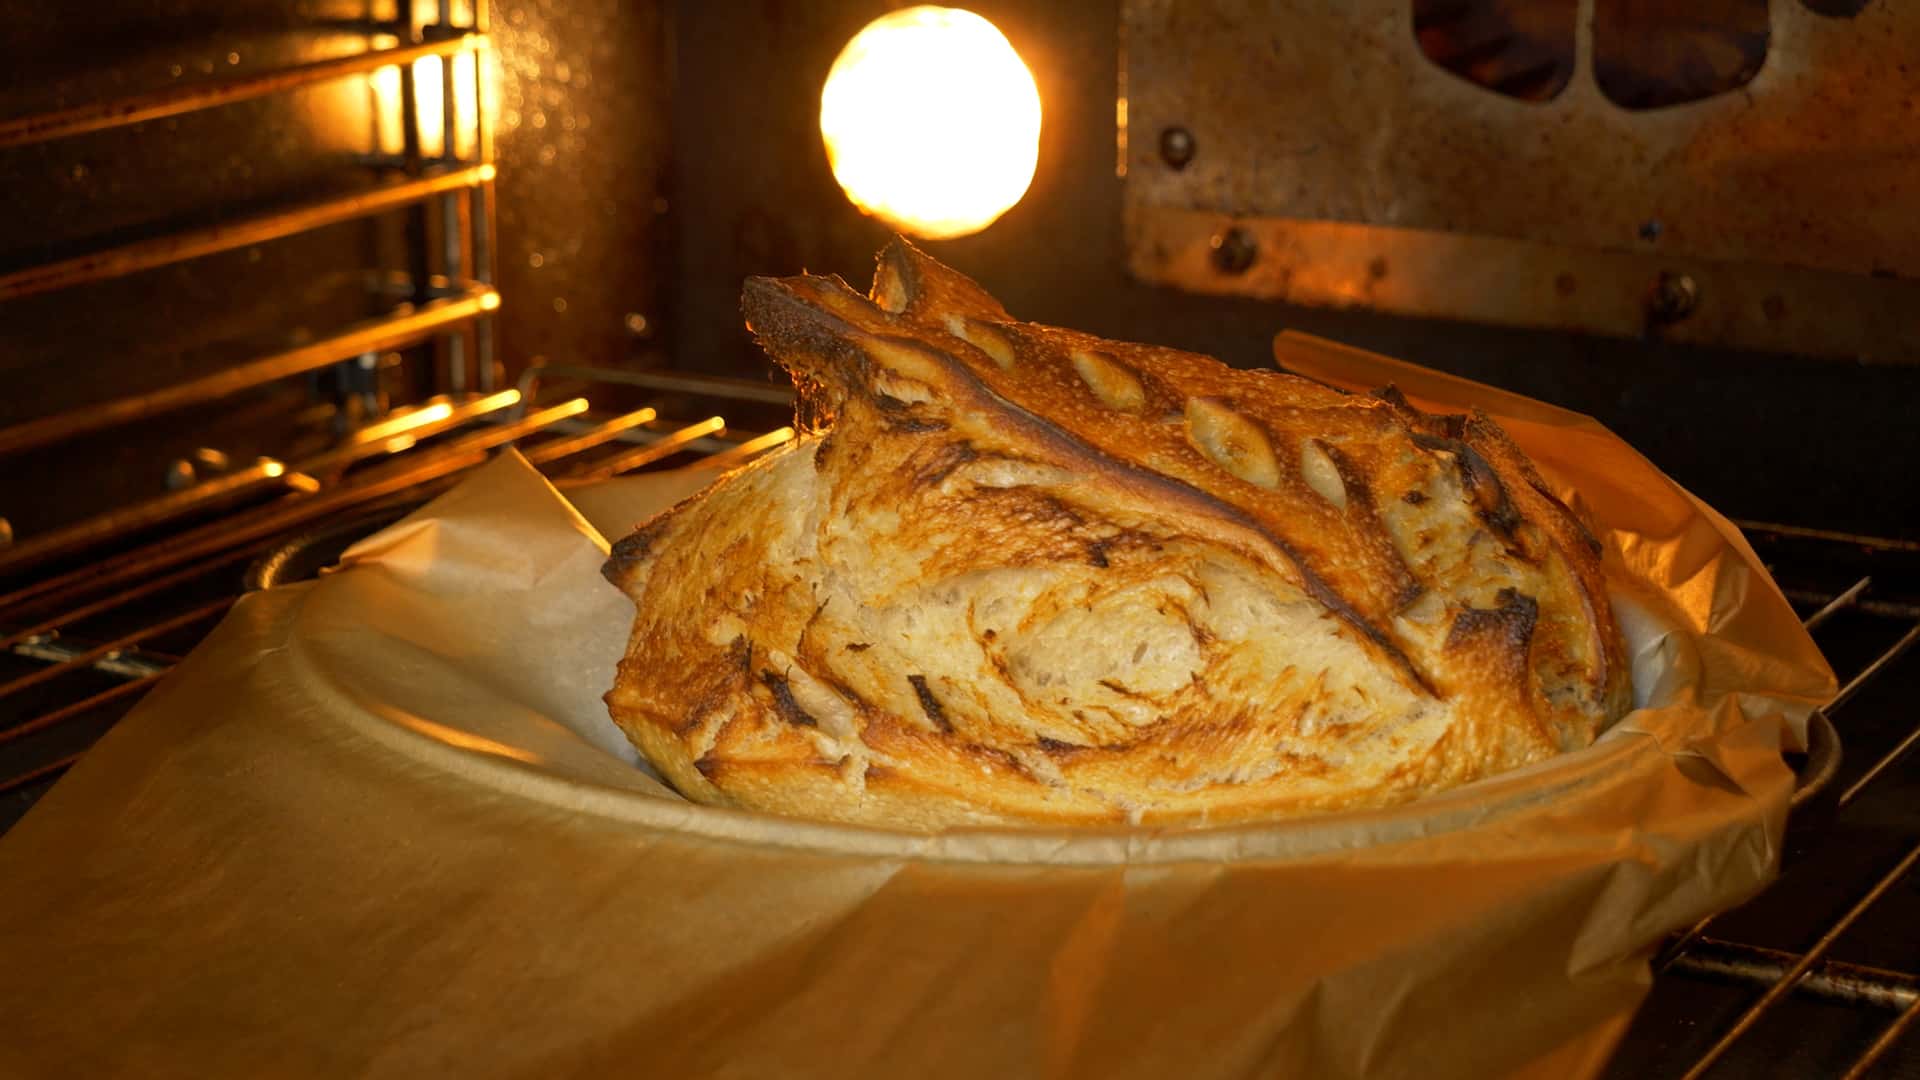
Baking
- Create Steam: Add 1/3 cup of water to the base of your hot baking vessel to create steam.
- Bake:
- Place the parchment paper with the dough into the vessel and cover with a lid. Bake for 20–25 minutes.
- Remove the lid and bake for another 10–20 minutes, checking periodically for a golden, crispy crust.
- Cool: Transfer the baked bread to a cooling rack and let it rest for at least 45 minutes. This allows the moisture to redistribute, resulting in the perfect texture.
Why Make Sourdough Bread?
Sourdough baking is an art and a science that brings families together while promoting gut health through its natural fermentation process. Whether you’re a first-time baker or an expert, the joy of crafting and sharing homemade bread is unmatched.
From my kitchen to yours, I hope this recipe brings as much happiness to your table as it has to mine. Happy baking, and don’t forget to tag us (@ThomasCuisine) in your creations!


